Quick Answer
A typical UK residential solar project moves through initial assessment, site survey, system design, planning and grid checks, scaffolding, roof mounting, panel installation, inverter and electrical work, testing, commissioning and handover. The installer should then provide the relevant certificates, warranties, monitoring information and DNO/MCS documentation where applicable.
The exact programme varies by property and system size, and weather or roof repairs can affect the schedule.
Step 1: Review your electricity use and objectives
A solar panel installation involves more than fixing modules to a roof. Before work begins, the installer needs to understand the property's electricity use, roof condition, orientation, shading, structural suitability and electrical system. The design then needs to be coordinated with scaffolding, cable routes, inverter location, grid requirements and any battery storage.
Knowing the typical sequence helps homeowners compare proposals and understand which decisions should be resolved before the installation team arrives.
A good solar design starts with why you are installing the system. Are you trying to reduce daytime grid imports, prepare for an EV or heat pump, make use of a large roof, add battery storage or simply generate more renewable electricity?
Provide annual electricity consumption where possible and explain any major future changes. Half-hourly smart-meter data can be useful because it shows when electricity is consumed, not just the annual total.
This information helps prevent a system being sized only from the number of bedrooms or the maximum number of panels that fit on the roof.
Our guide on how many solar panels a home needs explains the sizing process in more detail.
Step 2: Initial roof and property assessment
The installer will usually review roof orientation, pitch, available area, visible obstructions and likely shading. Aerial imagery can help at an early stage, but a proper site survey is still important before the final design.
The roof covering should be in suitable condition for the expected life of the installation. If there are missing tiles, recurring leaks or widespread deterioration, roofing work may be sensible before panels are installed.
The structure must also be able to support the additional loads from panels and mounting equipment. Flat-roof systems may use ballasted frames, which makes structural assessment particularly important.
Where roof condition is uncertain, Proper Trades can coordinate roofing services before the solar installation.
Step 3: Site survey
The detailed survey confirms measurements and identifies practical installation constraints. It may cover:
- roof dimensions and usable areas
- roof type and covering
- orientation and pitch
- shading from trees, chimneys and buildings
- loft or structural access
- consumer unit and electrical supply
- meter position
- inverter location
- proposed cable routes
- battery location, if included
- scaffold access
- parking and delivery restrictions
The survey is the point where generic sales assumptions should become a site-specific design.
Step 4: System design and generation estimate
The installer uses the survey to select panel layout, total kWp, inverter arrangement and estimated annual generation.
Ask to see the assumptions behind the generation estimate. Roof direction, shading and system losses should be included realistically. If the array spans multiple orientations, each section should be modelled appropriately.
If a battery is proposed, the design should also consider usable capacity, charge/discharge power and expected surplus generation. Read solar panels and battery storage: do you need both? before approving a bundled proposal.
Step 5: Check planning and property permissions
Many conventional domestic rooftop arrays in England can be permitted development, but exceptions apply. Listed buildings, conservation settings, unusual mounting arrangements, flat roofs and stand-alone arrays may need additional checks.
Review our solar panel planning permission UK guide and use current Planning Portal or local-authority guidance for the property.
Leaseholders and tenants may also need freeholder, landlord or management-company consent.
Step 6: DNO process
The Distribution Network Operator manages the local electricity network. Solar systems that export electricity need to follow the appropriate connection process.
Depending on the system size and configuration, the installer may be able to notify the DNO after installation or may need approval before connection. This should be dealt with by the installer as part of the project rather than left unclear until handover.
Ask which process applies and keep the documentation with the rest of the solar records.
Step 7: Confirm the quotation and specification
The final quotation should identify the main equipment and work included. Useful detail includes:
- panel manufacturer and model
- number of panels and total kWp
- inverter model
- mounting system
- battery model and capacity where relevant
- scaffolding
- monitoring equipment
- electrical protection and cable work
- bird protection if specified
- permissions or application support
- commissioning and certification
- warranties and aftercare
Be cautious if the equipment is described only as "premium panels" or "standard inverter" without a specific model or equivalent performance specification.
Step 8: Scaffolding and site preparation
Most rooftop systems require safe access. Scaffolding is normally installed before the solar team starts work.
Move vehicles away from the scaffold and delivery areas, secure pets and let neighbours know if access or parking may be affected. The installer should explain where materials will be stored and whether loft access is needed.
If roof repairs are identified at this point, resolve them before mounting equipment is installed unless the work has already been coordinated as part of the same programme.
Step 9: Install roof mounting system
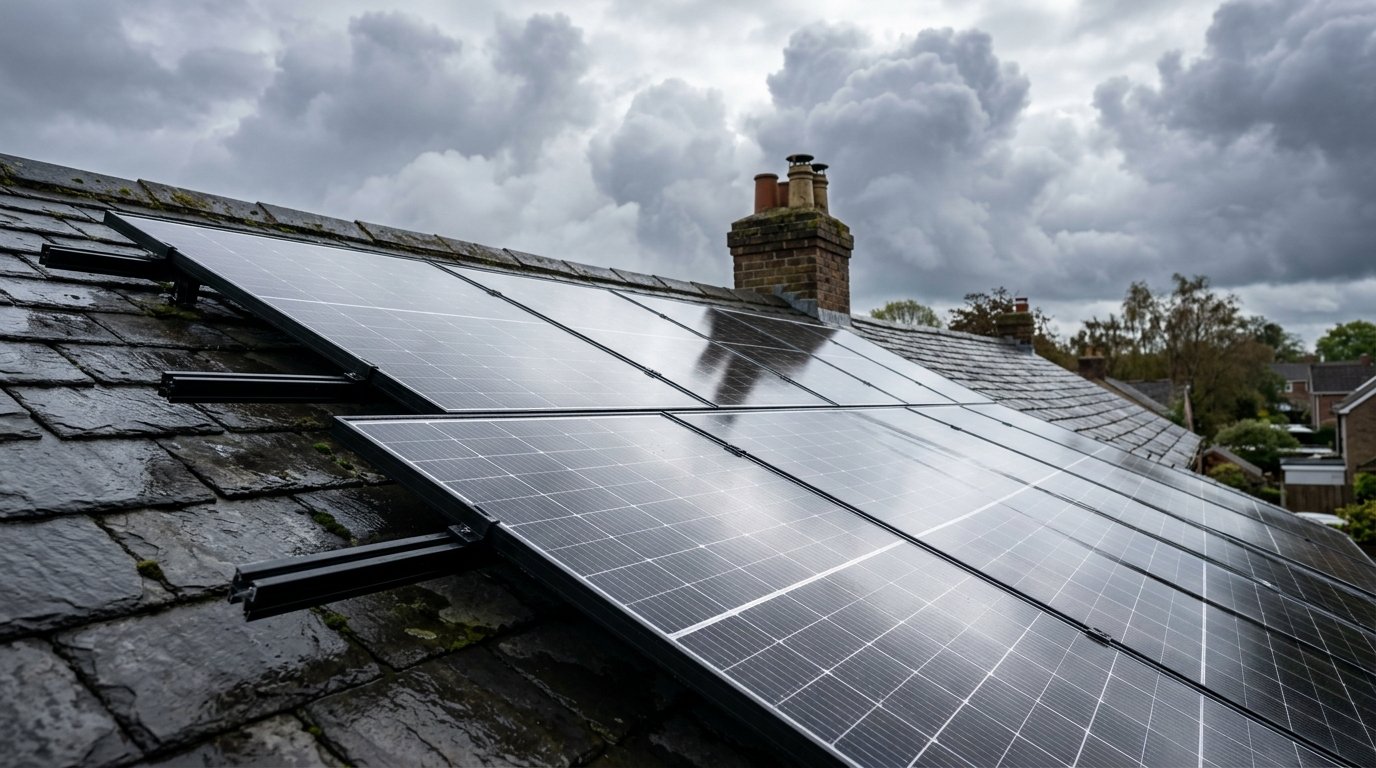
On a pitched tiled or slated roof, installers normally use a mounting system fixed to the underlying roof structure, with rails supporting the panels. The exact detail depends on the roof covering and system.
The work needs to preserve weatherproofing. Tiles may be lifted or replaced around brackets, and cable routes should be formed without creating uncontrolled penetrations.
Flat roofs use different mounting approaches, often involving frames designed for the required angle and wind loading. The roof membrane must be protected from damage.
Step 10: Fit the solar panels
Panels are secured to the mounting rails or frames according to the manufacturer's requirements. The modules are then electrically connected into strings or other configurations dictated by the design.
Panel layout should match the approved design unless there is a genuine site reason to change it. If an obstruction is discovered and panels need to move, ask how that affects generation and system configuration.
Photographs during installation are useful for future maintenance because they show fixing and cable locations that may later be hidden.
Step 11: Install the inverter and electrical equipment
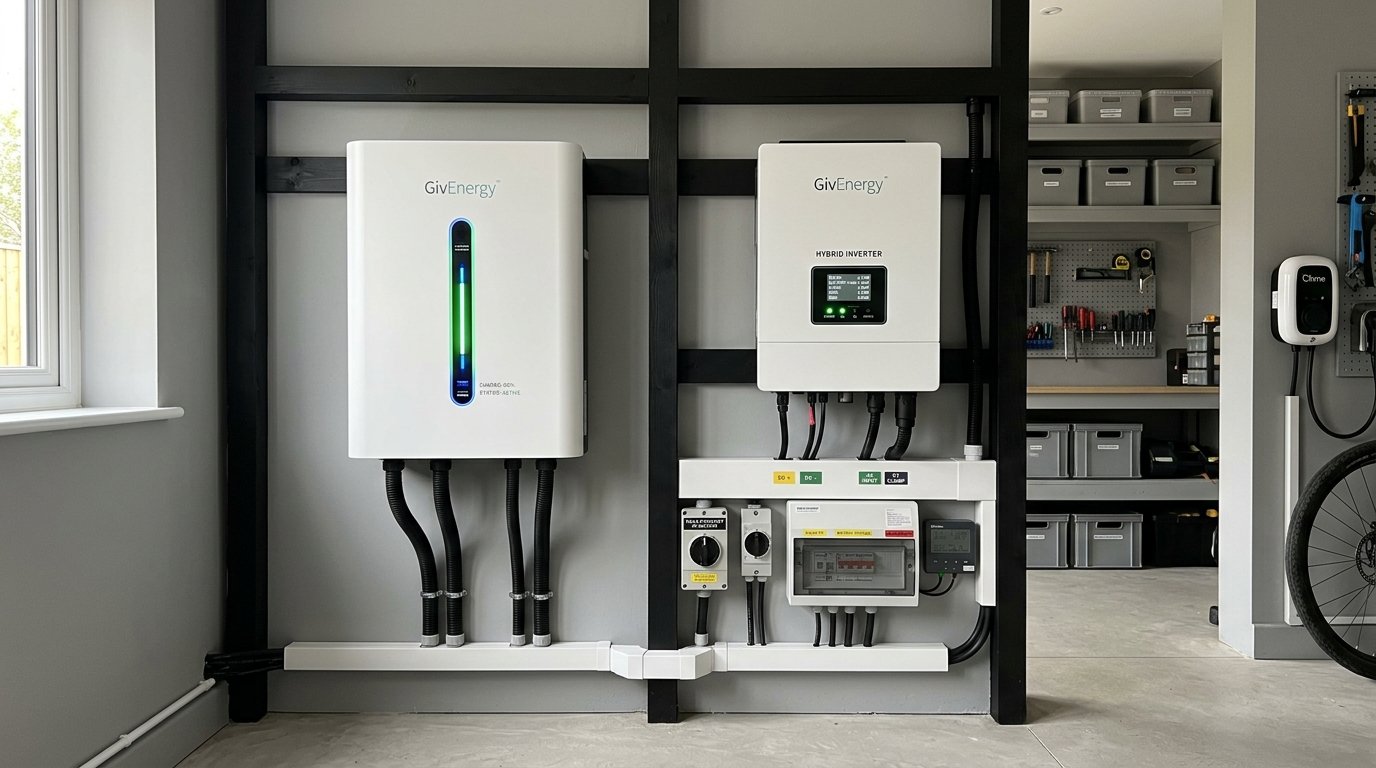
The inverter converts the DC electricity generated by the panels into AC electricity suitable for the home's electrical system.
Location matters. The inverter needs appropriate ventilation, access and environmental conditions. Cable routes should be tidy, protected and planned to minimise unnecessary visual impact.
The installer will also fit isolation and protection devices required by the design and connect the system to the property electrical installation.
Current work should comply with the applicable edition of BS 7671 and relevant solar installation standards. In 2026, electrical standards have continued to evolve, so the installer should work to the current requirements rather than relying on outdated specifications.
Step 12: Install battery storage if included
If the project includes a battery, it is installed in a suitable location with the required electrical protection, controls and communication links.
Battery systems differ in whether they are DC-coupled through a hybrid inverter or AC-coupled with separate conversion equipment. Homeowners do not need to become electrical engineers, but they should understand the proposed capacity, location, backup capability and monitoring.
Do not assume the battery will power the property during an outage unless the system specifically includes that functionality.
Step 13: Testing and commissioning
Before the system is handed over, the installer tests the electrical installation, confirms correct operation and configures monitoring.
You should be shown how to identify normal operation, where the isolation devices are, how to access the monitoring app or portal and what to do if an error appears.
If export limitation or smart battery control is configured, ask how it works and whether changes to your energy tariff affect the settings.
Step 14: Handover documents
Keep the handover pack. Depending on the installation, it may include:
- electrical certificates
- MCS certificate where the installation is under the scheme
- DNO notification or approval information
- equipment datasheets
- warranties
- schematic or system design information
- generation estimate
- monitoring login details
- commissioning results
- maintenance guidance
These records are useful for export tariff applications, warranties, future house sales and later maintenance.
Step 15: Apply for an export tariff if appropriate
In Great Britain, eligible small-scale generators can apply for Smart Export Guarantee tariffs offered by participating electricity suppliers. Requirements and rates differ.
You may need evidence such as an MCS certificate and export-capable metering. Check current supplier terms rather than relying on the tariff used in an installer illustration.
How long does installation take?
The physical panel installation on a straightforward home can be relatively quick, but the full project timeline includes survey, design, approvals, scaffolding, equipment availability and commissioning. Weather and roof repairs can also extend the programme.
Avoid relying on a guaranteed number of days unless the project conditions are unusually simple and clearly defined. Ask for a realistic programme and what could cause it to change.
What should you check after installation?
Once the system is operating, confirm that:
- monitoring shows generation
- you understand the main system status indicators
- all agreed equipment is installed
- roof and scaffold areas are left tidy
- cable routes are securely fixed
- labels and isolation points are clear
- handover documents have been provided
- the DNO process has been completed or is in progress as agreed
Keep photographs and documentation together in a digital folder.
Proper Trades connects homeowners and businesses across the Midlands with request a free solar quote.
For further guidance, read our UK solar performance guide.
Frequently asked questions
1. Do solar panels require scaffolding to install?
Most rooftop installations use scaffolding or another suitable access system so the team can work safely. The exact access method depends on the building, roof and installation design.
2. Do I need to replace my roof before solar panels are installed?
Not if the roof is in suitable condition. However, if substantial roofing work is already likely, doing it before panels are installed can avoid the complexity of removing and refitting the array later.
3. Where is the solar inverter installed?
It may be installed in a loft, garage, utility area or another suitable location depending on manufacturer requirements, temperature, ventilation, cable routes and access. The installer should explain the chosen position.
4. Will my electricity be turned off during installation?
A temporary interruption may be required while electrical connections are made and tested. The installer should explain when this is expected so you can plan around equipment or home working.
5. Who tells the DNO about my solar panels?
The solar installer normally manages the required notification or application process. Ask which route applies to your system and retain the resulting documents.
6. What documents should I receive after a solar installation?
Expect relevant electrical certification, equipment and warranty information, commissioning details and, where applicable, MCS and DNO documentation. You should also receive instructions for monitoring and safe isolation.
Construction & Renovation
5 SEO resource rewrites • Proper Trades Construction & Renovation content cluster
Need Professional Help with Your Project?
Proper Trades connects you with vetted, qualified trade specialists across the Midlands. Tell us your requirements, and we will review your project and present a single clear quote.
Enquiry Received
Thank you. We will review your project and get in touch shortly.